Capture System Process
The Capture process utilizes the template pages developed to create invoices containing the information extracted from your electronic documents. The resulting invoice batches are presented for review and can be modified prior to posting. The following instructions will explain how to use the system to save time processing your accounts payable invoices.
Running Capture
The following steps will explain where to locate the Digital Invoice Capture feature and how to initiate the process.
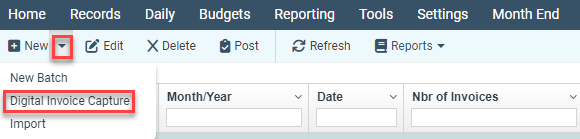
- Access the AP Batches screen by clicking Daily > A/P Invoice Batch List from the main menu bar.
- Click Digital Invoice Capture from the New menu:
- The Digital Invoice Capture window will display:
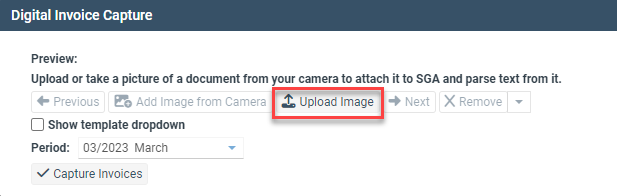
- Click Upload Image to select files from which to Capture invoices.
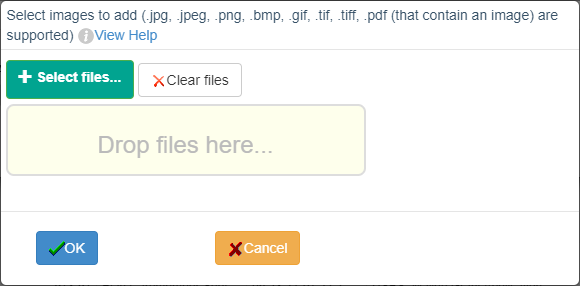
- The Select images to add window will display.


-
- You may drag and drop files directly from your desktop, email client, or other location into the Drop Files here… box. Or, you may click Select files… and a Windows File Open dialog window will display.
- You may drag and drop files directly from your desktop, email client, or other location into the Drop Files here… box. Or, you may click Select files… and a Windows File Open dialog window will display.

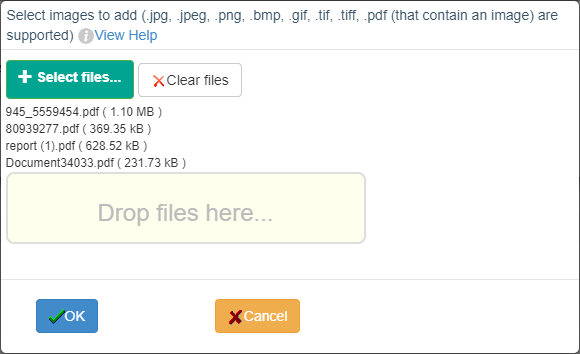
- All files that are selected will have their file names displayed:
- If additional files are needed, complete the Select Files as often as needed.
- Click OK.
- It is important to note that since the system reviews each document on a page-by-page basis, there is no need to scan invoices into single electronic documents individually.
7. Clicking Previous or Next to cycle through all invoice pages selected, you may review to ensure all desired information is present. The beginning or ending images may be accessed using the First and Last arrow icons.
8. Should an invoice page be present that is not needed, you may click it  . A system dialog will appear asking for you to confirm you intend to delete the selected page:

9. If multiple invoices must be deleted, access the Remove sub-menu and click the Remove Range. The Tag Pages to Remove menu will be presented, where images may be chosen for deletion by multi-select.
- If a page is deleted, it may not be retrieved.
- To re-add deleted images, the source invoices will need to be loaded using steps 4-5.
10. Should invoice pages need to have their page orientation rotated or to be reordered, click the Rotate/Reorder icon.
- Highlighted invoices may be reordered up for down or may be rotated clockwise until the desired orientation is achieved.
11. Once all invoice documents have been selected and desired invoice pages are present, confirm/select the desired accounting period in the Period dropdown. This period will be used for all invoices created.
12. Click Capture Invoices.